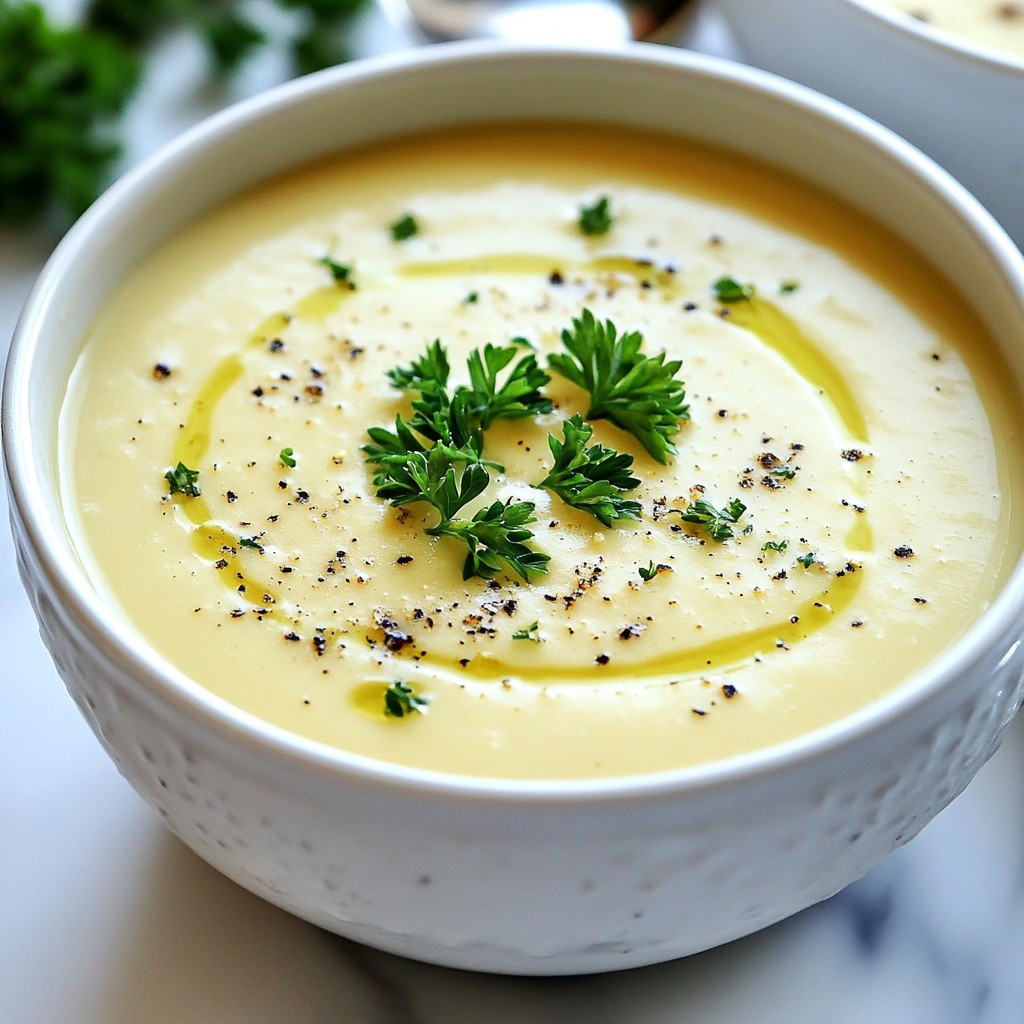
Are you ready to warm up with a bowl of Roasted Garlic Cauliflower Soup? This simple and creamy recipe will become a favorite in your kitchen. Packed with flavor and nutrients, it’s perfect for chilly nights or a quick meal. In this blog post, I’ll guide you through every step, from prepping ingredients to serving tips. Let’s dive in and make the tastiest soup you’ll ever enjoy!
Why I Love This Recipe
- Rich Flavor: This soup has a deep, savory flavor thanks to the roasted garlic and caramelized cauliflower, making it comforting and delicious.
- Health Benefits: Cauliflower is packed with nutrients, and the addition of garlic offers numerous health benefits, including immune support.
- Versatile Ingredients: This recipe can easily be adapted for different dietary preferences by swapping coconut milk for heavy cream or using vegetable broth.
- Easy to Make: With minimal prep and cooking time, this soup is perfect for busy weeknights or meal prep sessions.
Ingredients
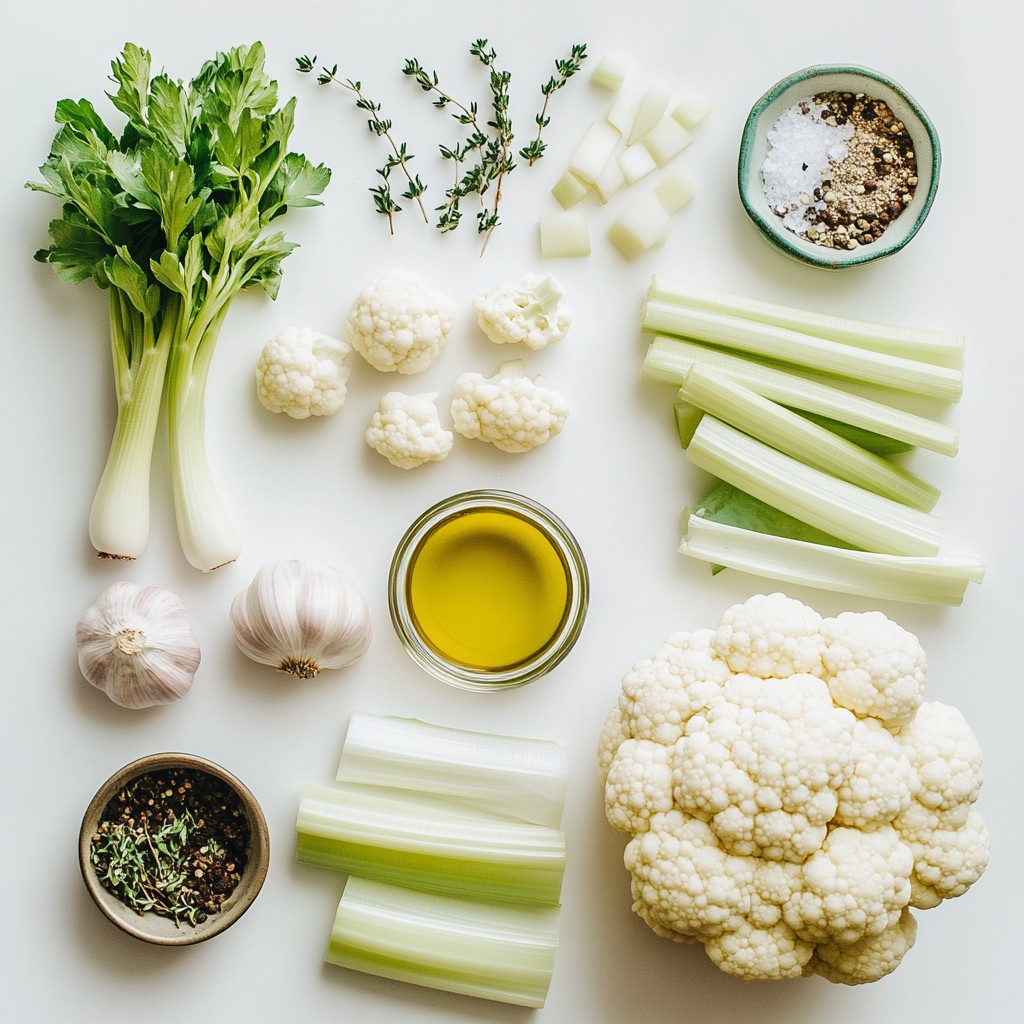
Detailed list of ingredients
- Cauliflower florets
- Olive oil
- Garlic
- Onion and celery
- Vegetable broth
- Coconut milk or heavy cream
- Thyme, salt, and pepper
- Fresh parsley for garnish
To make Roasted Garlic Cauliflower Soup, you need fresh ingredients. Start with one large head of cauliflower. Break it into small florets. This helps the cauliflower cook evenly. Next, grab a whole bulb of garlic. Roasting it brings out a sweet flavor. You will also need two tablespoons of olive oil for cooking and roasting.
For the base of the soup, use one medium onion, diced. Add two stalks of celery, also diced. These ingredients add depth to the soup. You will need four cups of vegetable broth to create a rich and hearty texture. To make it creamy, use one cup of coconut milk or heavy cream.
Season your soup with one teaspoon of thyme. Use salt and pepper to taste. Finally, fresh parsley makes a great garnish. It adds a nice touch to your soup. Each ingredient plays a key role in making this dish flavorful and satisfying.
Step-by-Step Instructions
Prepping the garlic and cauliflower
Roasting garlic To start, preheat your oven to 400°F (200°C). Take a whole bulb of garlic and cut off the top. Drizzle it with some olive oil. Wrap the bulb in foil and place it in the oven for 30 to 35 minutes. The garlic will become soft and sweet.
Preparing cauliflower florets While the garlic roasts, break a large head of cauliflower into smaller florets. Toss the florets in a bowl with 1 tablespoon of olive oil, salt, and pepper. Spread them on a baking sheet. Roast them in the oven for about 25 minutes. They should turn golden and tender.
Cooking the soup base
Sautéing onion and celery In a large pot, heat up the last tablespoon of olive oil over medium heat. Add diced onion and celery to the pot. Sauté them for about 5 to 7 minutes. You want them to become soft and translucent.
Combining garlic and cauliflower Once the garlic has roasted, squeeze the soft cloves into the pot with the onion and celery. Stir everything together well. Next, add the roasted cauliflower florets and thyme. Pour in 4 cups of vegetable broth. Bring the mixture to a simmer and cook for another 10 minutes. This helps all the flavors mix nicely.
Blending and final touches
Pureeing the soup Use an immersion blender to puree the soup until smooth. If you don’t have one, carefully transfer the soup in batches to a regular blender. Blend it well, then return it to the pot.
Adding coconut milk and adjusting seasoning Stir in 1 cup of coconut milk or heavy cream. Taste the soup and add salt and pepper to your liking. Gently heat the soup until it warms up again. Now, your creamy roasted garlic cauliflower soup is ready to serve!
Tips & Tricks
Enhancing flavor
- Adding herbs and spices: To boost flavor, try adding fresh herbs like basil or chives. You can also add spices like paprika for warmth or a pinch of nutmeg for depth.
- Suggestions for garnishes: Fresh parsley adds color and brightness. A drizzle of olive oil can enhance richness. You might also sprinkle some toasted seeds for crunch.
Texture adjustments
- Thickening or thinning the soup: If you want a thicker soup, blend it longer. For a thinner texture, add more vegetable broth or coconut milk until you reach your desired consistency.
- Alternative blending methods: If you don’t own an immersion blender, pour the soup into a regular blender. Just remember to let it cool slightly before blending in batches.
Serving suggestions
- Pairing with bread or crackers: Serve the soup with crusty bread or crunchy crackers. They make a great dip and add texture to each bite.
- Ideal meal occasions: This soup shines as a warm starter for a cozy dinner. It also works well for lunch, especially with a side salad.
Pro Tips
- Roast Your Garlic Well: Ensure the garlic is soft and caramelized for a sweeter, richer flavor in the soup.
- Blend for Smoothness: For the creamiest texture, use an immersion blender to purée the soup directly in the pot.
- Adjust Consistency: If the soup is too thick, add more vegetable broth or coconut milk to reach your desired texture.
- Garnish Creatively: Experiment with different herbs like chives or dill for added freshness and flavor contrast.
Variations
Dairy-free alternatives
You can make this soup dairy-free. Use cashew cream instead of heavy cream. To make cashew cream, blend soaked cashews with water. This adds a rich and creamy taste. You can also use non-dairy milk like almond or oat milk. Both options keep the soup smooth and tasty.
Protein additions
Want to add more protein? You can mix in cooked beans or chicken. Beans like white beans or chickpeas work well. They make the soup heartier. If you prefer meat, add shredded chicken for extra flavor. Just stir it in before blending.
Flavor customization
Feel free to get creative with flavors. Try adding different veggies like carrots or leeks. They will change the soup's taste and color. You can also use spices, such as cumin or paprika, for a unique twist. Experimenting with flavors will make your soup special.
Storage Info
Proper storage techniques
To keep your roasted garlic cauliflower soup fresh, store it properly. First, let the soup cool completely. Then, pour it into airtight containers.
- Refrigeration tips: If you plan to eat it soon, place the containers in the fridge. It will stay good for about 3-4 days.
- Freezing instructions: For longer storage, you can freeze the soup. Use freezer-safe bags or containers. It can last up to 3 months in the freezer.
Reheating suggestions
When you are ready to enjoy your leftover soup, reheat it gently.
- Best practices for reheating leftover soup: Pour the soup into a pot over medium heat. Stir it often to warm it evenly. If it seems too thick, add a splash of broth or water. You can also use the microwave. Heat it in short intervals, stirring in between.
Shelf life
Knowing how long your soup lasts is key.
- How long the soup can be stored safely: In the fridge, eat it within 3-4 days. If frozen, make sure to use it within 3 months for the best flavor and texture.
FAQs
How to make Roasted Garlic Cauliflower Soup vegan?
To make this soup vegan, swap the coconut milk for heavy cream. Use vegetable broth to keep it plant-based. You can also replace butter with olive oil if a recipe calls for it. This keeps the soup creamy and rich without dairy.
Can I use frozen cauliflower for this recipe?
Yes, you can use frozen cauliflower! Just thaw it before cooking. You may need less broth since frozen cauliflower holds more water. Cook it until it's tender and then follow the recipe as normal. The soup will still taste great!
What can I serve with Roasted Garlic Cauliflower Soup?
This soup pairs well with crusty bread or a fresh salad. You can also serve it with grilled cheese sandwiches for a cozy meal. Try adding some roasted veggies on the side for extra flavor and nutrition.
This blog post guided you through making Roasted Garlic Cauliflower Soup. We covered ingredients, cooking steps, and tips for flavor and texture. You learned how to customize the soup and store leftovers.
This dish is versatile and rich in flavor. With a few tweaks, you can make it your own. Enjoy this comforting soup on cold days or as a side. Happy cooking!
.png)